How to Create a Netflix-Style Animated Splash Screen in Flutter
A good splash screen can set the tone for your app, and what better inspiration than Netflix? In this guide, we’ll walk you through creating a sleek, animated Netflix-style splash screen in Flutter.
🚀 What We’re Building
Our splash screen will:
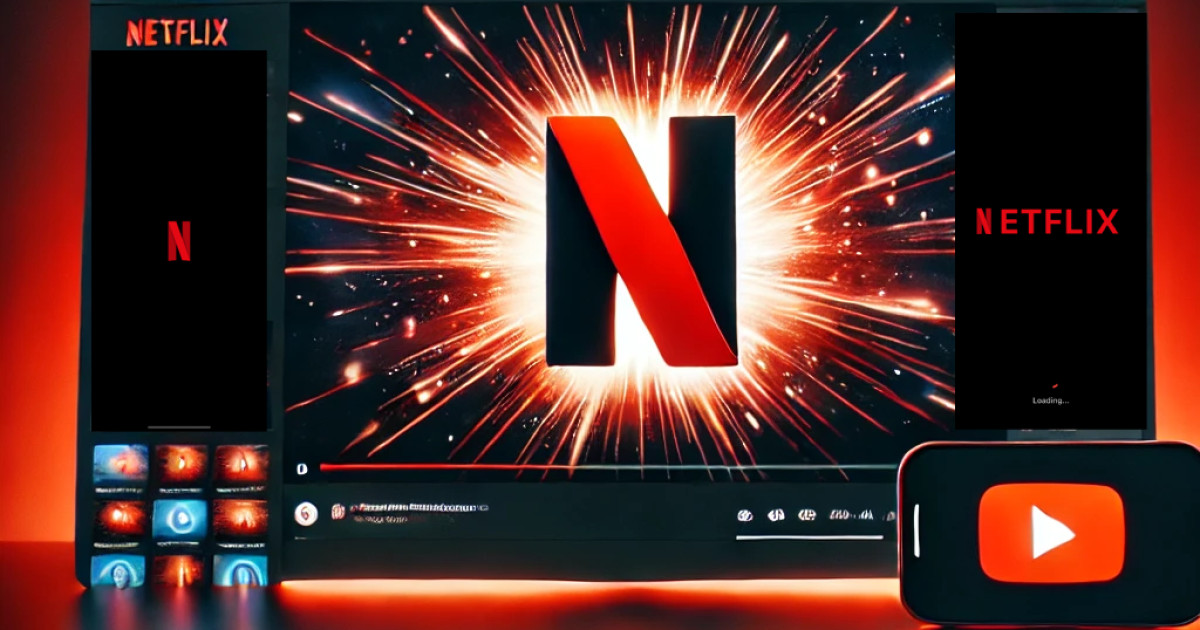
✅ Show the Netflix ‘N’ logo in the center.
✅ Animate the ‘N’ logo sliding left and shrinking in size.
✅ Reveal the rest of the text ("ETFLIX") with a typewriter effect.
✅ Display a loading indicator before navigating to the home screen.
Let's get started! 🎉
🛠️ Step 1: Set Up Your Flutter Project
If you haven’t already, create a new Flutter project:
flutter create netflix_splash
pubspec.yaml:dependencies:
flutter:
sdk: flutter
animated_text_kit: ^4.2.2
flutter pub get
Step 2: Add Netflix Logo Assets
Place your images inside the assets/images/ folder:
📌 netflix_n.png – The red ‘N’ logo.
Now, declare them in pubspec.yaml:
flutter:
  assets:
    - assets/images/netflix_n.png
Step 3: Implement the Netflix-Style Splash Screen
Now, let’s animate the splash screen:
📌 Create netflixSplashScreen.dart
import 'package:flutter/material.dart';
import 'package:netflixsplashscreen/screens/home.dart';

class NetflixSplashScreen extends StatefulWidget {
  const NetflixSplashScreen({super.key});

  @override
  State<NetflixSplashScreen> createState() => _NetflixSplashScreenState();
}

class _NetflixSplashScreenState extends State<NetflixSplashScreen> with TickerProviderStateMixin {
  late AnimationController _nController;
  late Animation<Alignment> _nAlignmentAnimation;
  late Animation<double> _nWidthAnimation;
  String displayedText = '';
  final String fullText = 'ETFLIX';
  bool showLoader = false;

  @override
  void initState() {
    super.initState();

    _nController = AnimationController(
      duration: const Duration(seconds: 4),
      vsync: this,
    );

    _nAlignmentAnimation = AlignmentTween(
      begin: Alignment.center,
      end: const Alignment(-0.3, 0.0),
    ).animate(
      CurvedAnimation(
        parent: _nController,
        curve: const Interval(0.5, 1.0, curve: Curves.easeInOut),
      ),
    );

    _nWidthAnimation = Tween<double>(begin: 100, end: 60).animate(
      CurvedAnimation(
        parent: _nController,
        curve: const Interval(0.5, 1.0, curve: Curves.easeInOut),
      ),
    );

    _nController.forward().whenComplete(() {
      _startTypewriterAnimation();
    });
  }

  void _startTypewriterAnimation() {
    const duration = Duration(milliseconds: 200);
    for (int i = 0; i < fullText.length; i++) {
      Future.delayed(duration * i, () {
        setState(() {
          displayedText += fullText[i];
        });
        if (i == fullText.length - 1) {
          Future.delayed(const Duration(seconds: 1), () {
            setState(() => showLoader = true);
            Future.delayed(const Duration(seconds: 2), () {
              Navigator.pushReplacement(
                context,
                MaterialPageRoute(builder: (_) => const HomeScreen()),
              );
            });
          });
        }
      });
    }
  }

  @override
  void dispose() {
    _nController.dispose();
    super.dispose();
  }

  @override
  Widget build(BuildContext context) {
    return Scaffold(
      backgroundColor: Colors.black,
      body: Stack(
        alignment: Alignment.center,
        children: [
          Center(
            child: AnimatedBuilder(
              animation: _nController,
              builder: (context, child) {
                return Align(
                  alignment: _nAlignmentAnimation.value,
                  child: Row(
                    mainAxisSize: MainAxisSize.min,
                    children: [
                      Image.asset(
                        'assets/images/netflix_n.png',
                        width: _nWidthAnimation.value,
                      ),
                      const SizedBox(width: 0),
                      Text(
                        displayedText,
                        style: const TextStyle(
                          color: Color(0xFFE50914),
                          fontSize: 72,
                          fontWeight: FontWeight.bold,
                        ),
                      ),
                    ],
                  ),
                );
              },
            ),
          ),
          if (showLoader)
            Positioned(
              bottom: 50,
              child: Column(
                children: [
                  const CircularProgressIndicator(color: Colors.red),
                  const SizedBox(height: 16),
                  const Text(
                    'Loading...',
                    style: TextStyle(color: Colors.white, fontSize: 16),
                  ),
                ],
              ),
            ),
        ],
      ),
    );
  }
}
Step 4: Create the Home Screen
After the splash screen, we navigate to HomeScreen.
Create a new file home.dart:
import 'package:flutter/material.dart';

class HomeScreen extends StatelessWidget {
  const HomeScreen({super.key});

  @override
  Widget build(BuildContext context) {
    return Scaffold(
      appBar: AppBar(title: Text("Home")),
      body: Center(child: Text("Welcome to Netflix Clone!")),
    );
  }
}
Step 5: Update main.dart
Make sure your app starts with NetflixSplashScreen:
import 'package:flutter/material.dart';
import 'package:flutter/services.dart';
import 'package:netflixsplashscreen/screens/netflixSplashScreen.dart';

void main() {
  WidgetsFlutterBinding.ensureInitialized();
  SystemChrome.setEnabledSystemUIMode(SystemUiMode.manual, overlays: []);
  runApp(const MyApp());
}

class MyApp extends StatelessWidget {
  const MyApp({super.key});

  @override
  Widget build(BuildContext context) {
    return MaterialApp(
      debugShowCheckedModeBanner: false,
      title: 'Netflix Splash Animation',
      theme: ThemeData.dark(),
      home: NetflixSplashScreen(),
    );
  }
}
Final Step: Run Your App
Now, run:
flutter run
✨ You should see the Netflix-style animated splash screen in action!
Wrapping Up
In this tutorial, we built a Netflix-style animated splash screen using Flutter. We covered:
✅ Using animations to move the ‘N’ logo.
✅ Adding a typewriter effect for the text.
✅ Displaying a loading indicator before transitioning to the home screen.
🔗 What’s next?
Want to enhance this? Add a fade-in effect for a smoother transition! 🚀
💡 Enjoyed this tutorial? Let us know in the comments!
Happy coding! 🎉🔥


